Authentication using Refresh Token and Access Token
Secure Web Authentication: Simplified
Imagine stepping into the digital world as easily and securely as you enter your home. This is what token-based authentication in web development offers. In this article, we'll demystify how websites keep your digital identity safe and seamless.
The Digital Handshake: Cookies and Tokens
When you log into a website, it's like being handed a digital handshake. This handshake is a set of cookies containing two special keys: the access token and the refresh token.
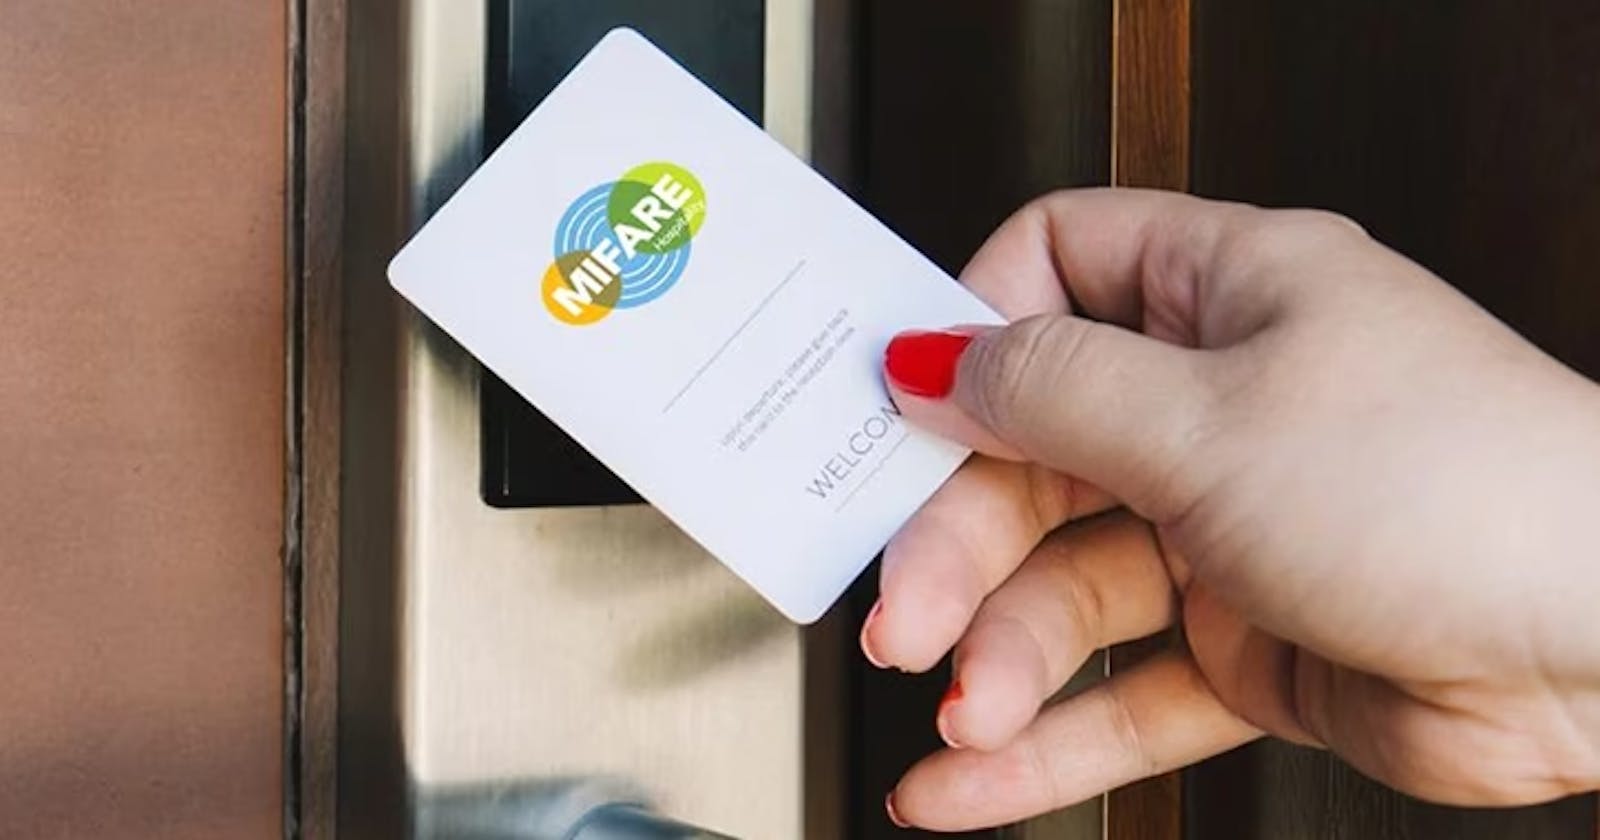
Access Token: Think of it as a temporary key to a hotel room - it grants you access but only for a short period.
Refresh Token: This is akin to a permanent key stored safely. It's used to generate new access tokens.
The Hotel Analogy
Let's use a hotel analogy to understand this better. You're a guest at a hotel. You can't have a permanent room key for security reasons(like it getting stolen). Instead, you get a temporary key (access token) and a permanent key (refresh token). The temporary key is for daily use, and when it expires or gets lost, you use the permanent key at a special desk (the server) to get a new temporary key.
Why Two Keys?
You might wonder why we need both keys. The access token, being short-lived, minimizes security risks. The refresh token, stored securely, ensures that you don't have to repeatedly log in, balancing security with user convenience.
In Practice
Here’s a basic JavaScript example of how token-based authentication might look:
// Example JavaScript code for token-based authentication
// generate refresh and access token
// here we will generate both refresh tokens and access token
// and store them in cookie
const generateTokens = async (userId){
    // write function to generate
    // can be used to generate both accessTokens and refreshTokens
    // or only access Token depending upon the use case
}
const options = {
    httpOnly:true,
    secure:true
// can add expire based on the use case just for simplicity
// i have used same options for both
}
const loginHandler = async (req,res){
    // write login logic
    const tokens = await generateTokens(userId);
    // tokens = {accessToken:accessTokenValue,refreshToken:refreshTokenValue}
    return res
    .cookie("accessToken",accessToken,options)
    .cookie("RefreshToken",refreshToken,options)

}
const logoutHandler = async (req,res){
   // varifies user by taking accessToken from the cookie
   // clears cookies
   return res
   .clearCookie('accessToken',options)
   .clearCookie('refreshToken',options)
}

const refreshAccessToken = async (res,res){
   const incomingRefreshToken = req.cookies?.refreshToken || req.body.refreshToken
   const decodedToken = jwt.verify(incomingRefreshToken,jwtSecret);
   const user = await User.findById(decodedToken?.id).select("-password");
   // at each step check for errors
   if(incomingRefreshToken !== decodedToken?.refreshToken){
   // throw error
}
  // after all the checks are done
  const {newRefreshToken,accessToken} = await generateTokens(user._id);
  return res
   .clearCookie('accessToken',options)
   .clearCookie('refreshToken',options)
}
// this function generates a new access and refresh token everytime you hit a endpoint
Conclusion
Token-based authentication is like a well-oiled lock and key mechanism, keeping your digital presence secure yet accessible. It's an essential part of modern web development.
Learn More
Interested in diving deeper into web development? Check out codedamn for comprehensive courses or follow Hitesh Choudhary on YouTube for insightful tutorials.
